Cadasio is an online platform that allows you to quickly generate 3D instructions and assembly guides from your existing CAD data. Use the Cadasio Fusion 360 add-in to create 3D instructions, product assemblies, and advanced animations. Bring your manuals to life. The world is in 3D, so it makes sense your instructions are too.
- Cadasio Example Projects
- Cadasio for Fusion 360 Add-in
- Sign up for Cadasio (free account)
- Brushless Motor Demo Files
- Tutorial – Get Started with Cadasio and Fusion 360
1. Cadasio Example Projects
You can leverage Cadasio for a number of projects, including manuals, 3D instructions, assembly illustrations, and more. I encourage you to check out the Showcase on the Cadasio website. It illustrates a variety of example projects, including a variety of visual styles.
Benefits to Using Cadasio
- Modernize your technical communications
- Reduce time to market
- Improve customer experience and engagement
- Go green and become more sustainable by reducing printing
- Reduce translation costs
2. Cadasio Add-In for Autodesk Fusion 360
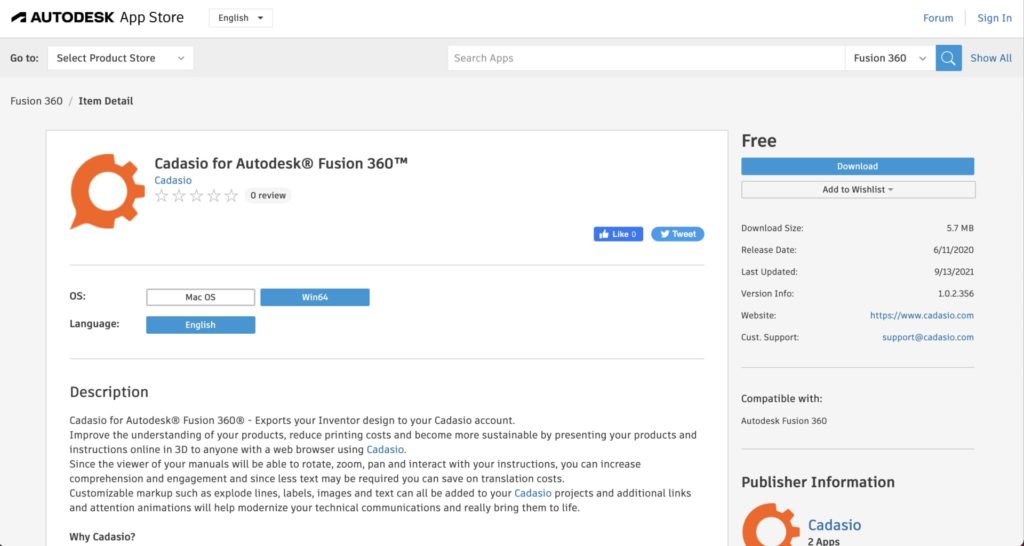
Download the Cadasio Add-in from the official Autodesk app store. Be sure to select your operating system (Windows or Mac OS) before selecting the Download button.
Get Cadasio Add-In
3. Sign Up for Cadasio (free account)
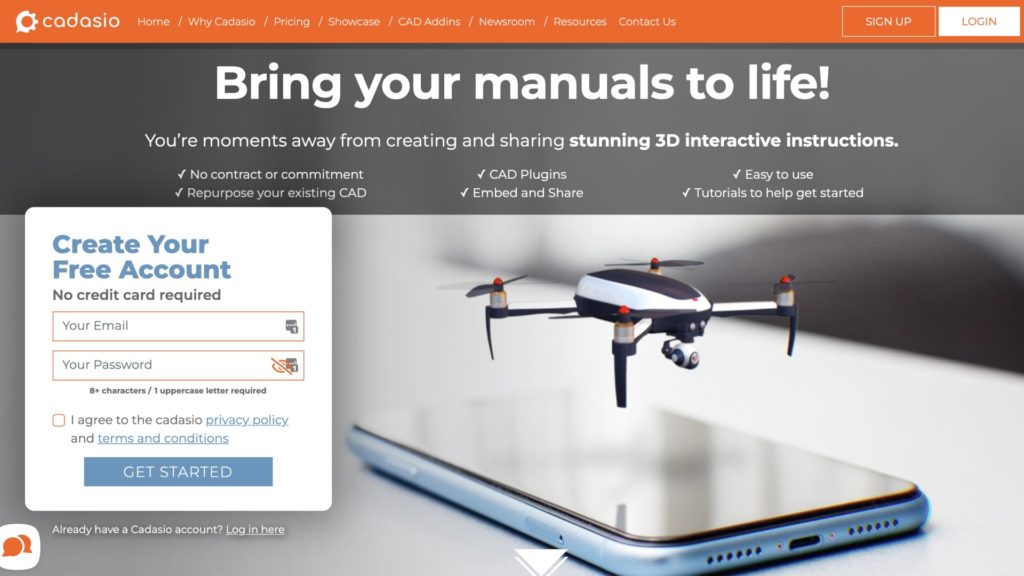
Cadasio offers a free account and requires no payment information at signup. Create up to three Cadasio projects (at any given time), completely free.
Cadasio Sign Up
5. Brushless Motor Demo Files
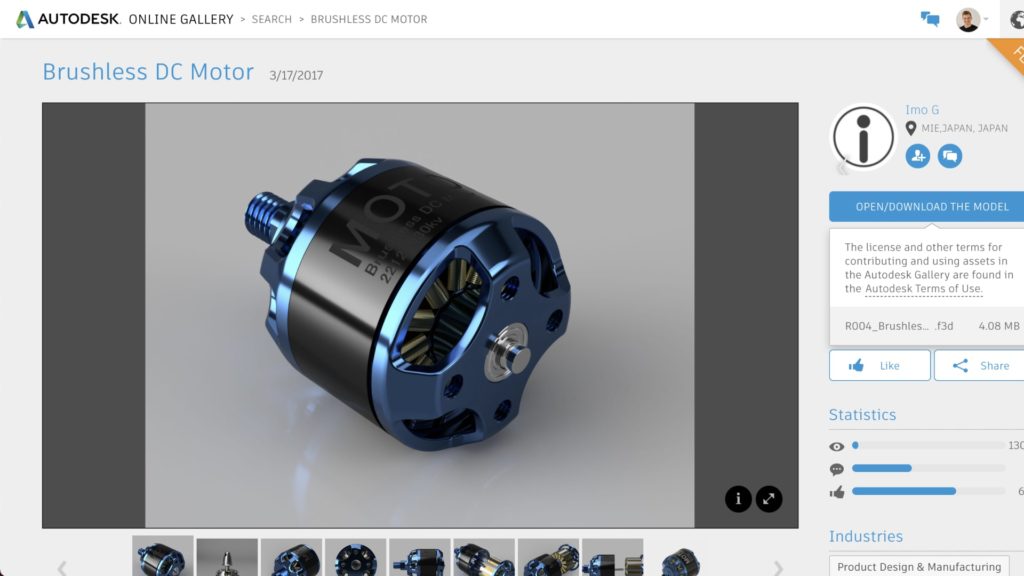
The Brushless DC Motor is courtesy of Imo G on the Autodesk Gallery. Download the demo or select “Open” to open it directly in Fusion 360.
Get Demo File
6. Tutorial – Get Started with Cadasio and Fusion 360
Transcript
It’s easier than ever to create captivating instructions and assembly guides, thanks to Fusion 360 and Cadasio.
Cadasio is an online design platform that’s fundamentally transformed the time it takes to generate interactive and 3-dimensional instructions.
In this lesson, we’ll take a look at creating an assembly breakdown for this Brushless Motor. Links to the demo file and the official Cadasio add-in are in the video description.
Cadasio does offer a completely free Personal account. No payment details are required at sign-up, so you can easily follow along with this tutorial.
Once you’ve installed and activated the Cadasio add-in, be sure to log in.
After a successful login, we’ll define the project name in the upload tab. You can always change this later.
We can then click OK to upload the CAD file to Cadasio’s web platform. It’s important to note that your file is converted to a mesh, encrypted, and then hosted on their secure servers. They do not have access to the Fusion 360 file or any original CAD data.
We can then head to a web browser to access the Cadasio web app. Our uploaded CAD data is now listed as a project. We can select “Open in Designer” to start generating our 3D instructions.
Similar to Fusion 360, you’ll find Scene settings at the bottom, where we can change the background color, rendering styles, and edge styles.
For example, I’ll change the background to a dark blue, followed by setting the Render Style as Metallic. I also like to turn on edge lines, which makes the shapes easier to see with a dark background. Setting your desired look may depend on your business’s branding or another element that you’d like to convey to customers.
Note that you can fine-tune the look by changing the Camera and Light settings.
Let’s instead create some steps to showcase what makes up this brushless motor assembly.
I’d like to start by showing the Stator, or the stationary part of the rotor. Using the ViewCube, similar to Fusion 360, we can reposition the design.
On the right-hand side, we can use the Tree to manage the visibility of our CAD data, similar to Fusion 360’s Browser. I’ll hide everything, then turn the Stator back on.
We’ll need to select the camera shutter to record the step. Notice you can define the name of each step, along with a description and more. Otherwise, we can simply confirm and move on. You can always change this at any time.
For the second step, I’d like to make the arms of the Stator visible in the Tree. We can also use the Mouse to change the view by using the scroll wheel to zoom, right-clicking to reorient, or CMD + right-clicking to Pan.
Before recording the step, let’s head to the Toolbox on the left. The toolbox houses all of the reusable objects, such as text, arrows, labels, and many 2D and 3D objects. It’s here that you can grab items to number your steps or simply call out parts in your assembly.
I’ll select a label, which lets us add text and a leader. Notice the bottom settings are contextual to the active feature. We can change the font size and color, and we can also change the color of the leader. You’ll find Cadasio controls to be intuitive, allowing you to click and drag these anchors to reposition them.
You can also save a ton of time by saving items to your Toolbox and creating unique toolboxes and categories to build up reusable libraries based on your branding or product lines.
After creating this second step, you’ll find that we can view our steps with the shortcut letter “V,” as in Victor. This puts us in view mode, where we can skip to the beginning and page through the steps. Notice the Step Title and description appear here as well.
Press the letter V again to return to the design mode.
Next, I’d like to show the bearings and coil. Notice as I reorient the view that the label moves with it and the leader is anchored to our 3D object. If we’d like to hide it we can select an object, followed by the shortcut letter “H,” as in Hotel.
I’ll turn on the bearings and Coil in the tree.
To make instructions or assembly guides more dynamic, we can reposition parts as necessary. With the bearing selected, we can drag the axis sliders. Selecting the planar face will move in the planar direction, while the diamond will allow you to perform a “free form” move.
We can also change the visual and appearance settings throughout any step. For example, I’ll change the coil to a gold color.
In the Toolbox, you’ll now find the Motor Text style that I previously saved.
Using dashed lines is a great way to indicate exploded parts. This tool also allows us to easily snap to different objects by holding Shift or the Option/Alt key.
After saving this step, I’ll hide the Coil label and dotted line, and I’ll move the bearing into position.
I now want the Magnets to become visible, and I’ll change their color to a matte black. I’ll also reposition the model to look directly at the bottom.
For the next step, I’d like the magnets to rotate. I’ll first select them. You can press the Option/Alt key which changes the translation selector to a rotation selector. We can then rotate the magnets by dragging the green rotation selector.
After creating this step, I’ll view this so you can see what it looks like. As you can see, it’s pretty simple to move things around. Just keep in mind that all moves are recorded in your step by default. You can always use “Restore Position” to revert any unwanted moves.
Lastly, I’ll turn everything on in the tree. I’d like to show the outer Rotor spinning with the magnets. I’ll look at this from a Top perspective. I’ll also turn the top bearing and the Strator off, so it’s easier to see.
At any time, you can hold the CTRL key to select multiple objects, allowing us to transform them at the same time. We can also use the rotation tab and set 180 degrees for the Z-axis. I’ll then create this step.
In the view mode, you can now see that my model reorients as the rotor revolves.
There is so much more that you can do to make these instructions or assembly guides stand out – or to make it easier for your customers to assemble products. However, I want to show you what happens when you need to update your original CAD data.
It’s inevitable that you’ll have to change or update your product over time. The great thing about this is that you can quickly push the change to your Cadasio project at any time without having to rework all your steps. The Cadasio add-in will automatically detect your changes made in Fusion 360 or any CAD program for that matter. If you work with a team of designers or engineers, this can be a huge time saver. Someone can work on the guides, while others work on the CAD data.
Once your project is complete, there are many ways to make it public to your customers.
From the Tools panel on the left, you can select “Publish Images” for those static and traditional manuals. You can also generate a video of your steps, or you can choose to publish online, allowing your customers to walk through the steps or view your guide in real-time.
Note the screen size, as that may be critical depending on where you plan to share this. Once published, you can share a public URL, or embed an iframe on your website. You can also share the QR code or place it on your product packaging to send customers right to your instructions.
The viewer is free to share and the result can be viewed on tablets and phones. One thing not covered in this video is some ways to control how things look on various devices or aspect ratios. This can all be done in the Cadasio web app.
[Upbeat Music]
Cadasio is also a fun way to showcase multi-part woodworking and 3D printing projects. If you plan to try Cadasio, let me know in the comments below.
Then, click on that playlist to check out additional tutorials on Fusion 360 add-ins.
[End Upbeat Music]