Nesting parts or creating flat patterns in Fusion 360 can help prepare your 3D models for Laser Cutters, CNC Mills, Vinyl Cutters, and other machines.
Those on the Commercial Fusion 360 license can take advantage of the new Arrange feature or advanced Nest extension (a paid add-on).
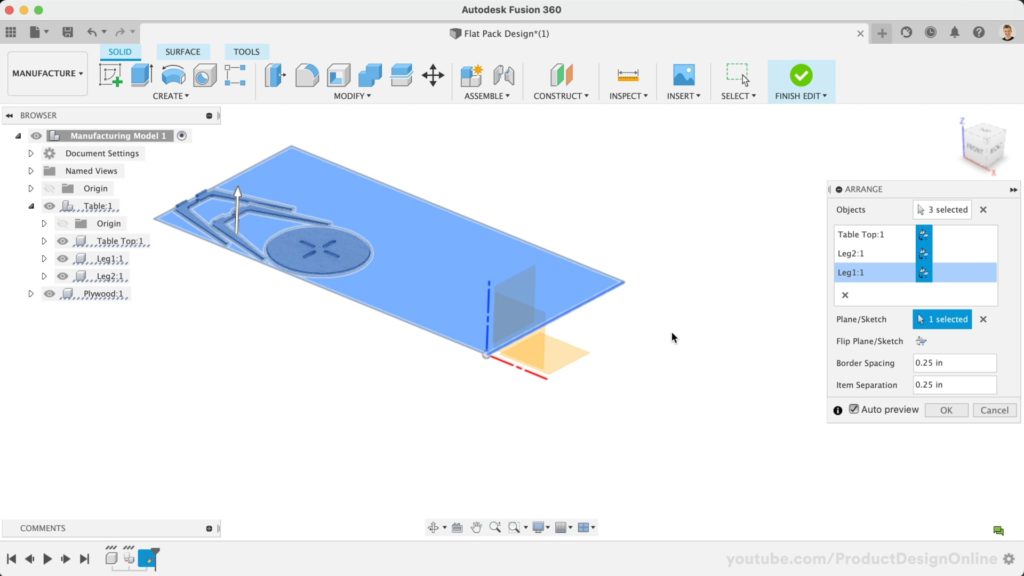
The Arrange restriction leaves hobbyists on the free Personal Use license without a native way to nest or arrange parts as a flat pattern.
Fortunately, Autodesk allows 3rd-party developers to create scripts and add-ins that extend the functionality of Fusion 360.
MapBoards Pro is a Fusion 360 add-in available in the official Autodesk App store – that means it’s been vetted by the Autodesk moderation team (unlike all the random add-ins available on GitHub). MapBoards Pro is available for both Mac and Windows Fusion 360 users.
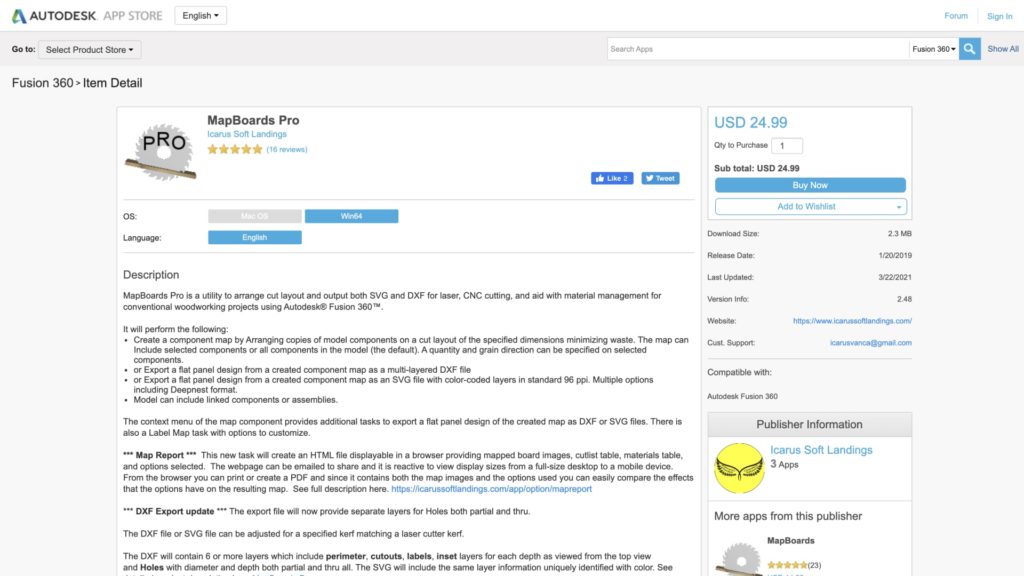
MapBoards Pro Fusion 360 Add-In
MapBoards Pro is a utility to arrange the cut layout with the option to output as both SVG or DXF for Laser Cutters, CNC machines, and aid with material management for conventional woodworking projects using Autodesk Fusion 360.
Note that MapBoards Pro does require a one-time payment of $24.99 (at the time of writing this). This is a lifetime license that includes future updates.
After using it for many projects, this is one of our favorite Fusion 360 add-ins to recommend to both hobbyists and professional users. It is well worth the one-time payment if you have a need of creating flat patterns.
The developer, Icarus Soft Landings, is very responsive if you have any issues or would like to provide suggestions. This is a huge plus, as Fusion 360 add-ins can be “hit or miss” when it comes to developer support.
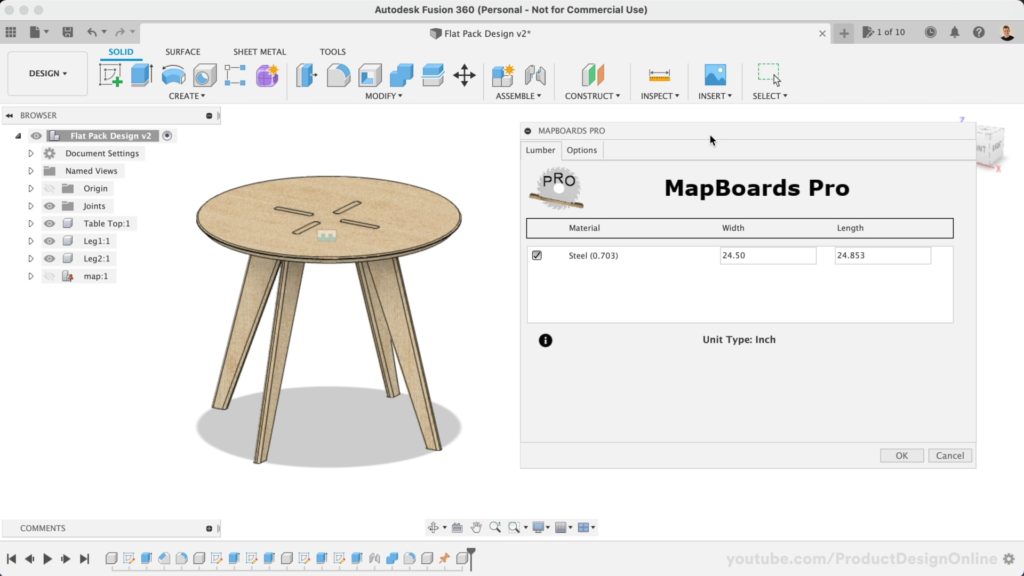
Once you have the add-in installed on your local machine, you’ll be able to access it via the Toolbar of the SOLID tab, the create dropdown, or the right-click menu. Once activated, set the material, width and length of the map, as well as which components to include from your design.
MapBoards Pro Overview
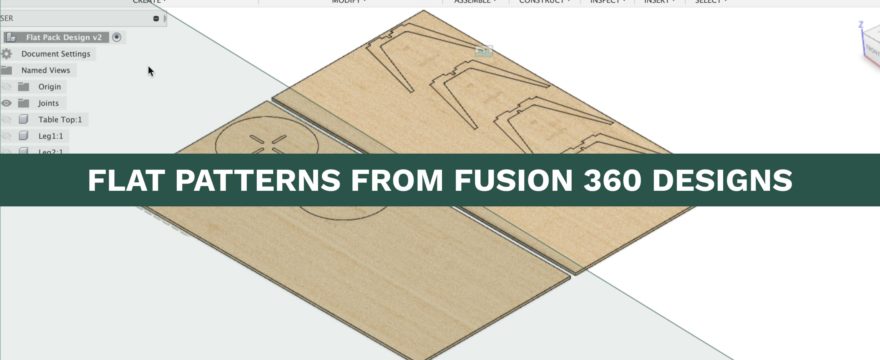
After defining the Lumber options, MapBoards Pro can be used to generate a “Map.” A map is simply a flat pattern that can be used in the following ways (to name a few):
- a component map by Arranging copies of model components on a cut layout of the specified dimensions minimizing waste. The map can Include selected components or all components in the model (the default). A quantity and grain direction can be specified on selected components.
- Export a flat panel design from a created component map and use it as a multi-layered DXF file
- Export a flat panel design from a created component map and use it as an SVG file with color-coded layers in standard 96 PPI. Multiple options including Deepnest format.
- Model can include linked components or assemblies.
The MapBoards Pro add-in will automate the entire process. In addition, it will create a copy of your selected components, ensuring the original design is not affected. That means you can continue to create changes to your design, followed by generating additional maps.
MapBoards Pro Export Options
The MapBoards Pro Fusion 360 add-in allows the export of a flat pattern as a DXF, SVG, Cut List, or Map Report.
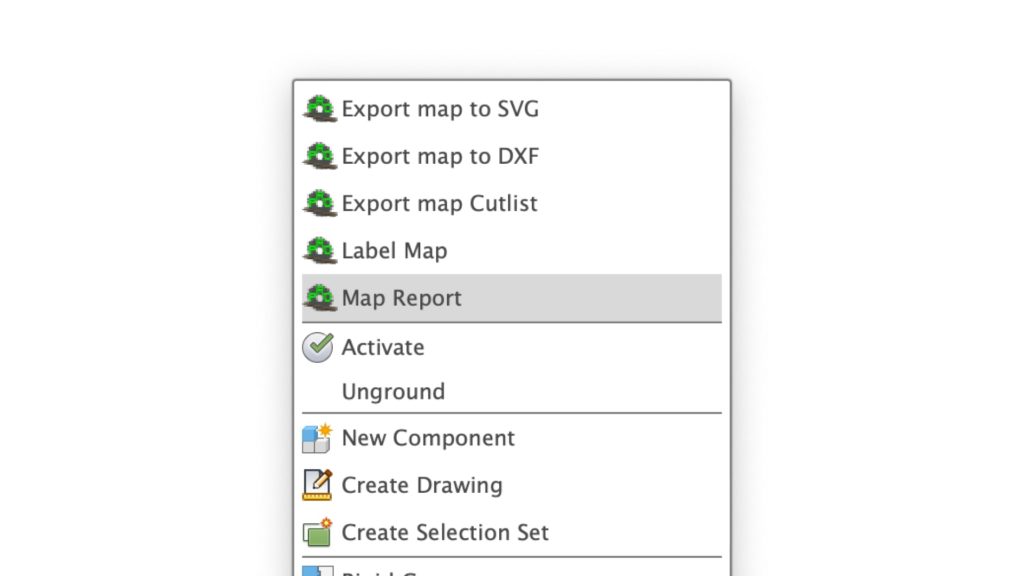
- Export Map to SVG: The SVG will include the same layer information uniquely identified with color.
- Export map to DXF: The DXF will contain 6 or more layers which include perimeter, cutouts, labels, inset layers for each depth as viewed from the top view, and Holes with diameter and depth both partial and thru all.
- Export map Cutlist: Creates an HTML file displayable in a browser providing mapped board images, cutlist table, materials table, and options selected. The webpage can be emailed to share and it is reactive to view display sizes from a full-size desktop to a mobile device. From the browser you can print or create a PDF and since it contains both the map images and the options used you can easily compare the effects that the options have on the resulting map. Read the full description here. https://icarussoftlandings.com/app/option/mapreport
- Map Report: Creates a Map Report instead of a Map with bodies by selecting Report as a MapType in the Options tab. You can also create a Map Report after creating a map with bodies. You do so by right-clicking on the map object in the browser tree and selecting Map Report. It will generate an informative HTML report on the map and components in the model. The resulting HTML can be saved as a PDF or printed.
MapBoards Pro Configuration Settings
MapBoards Pro offers many configuration settings to define how to generate the flat pattern. Each setting will influence the outcome of the flat pattern called a “map.”
You’ll find that MapBoards Pro offers more configuration settings than Fusion 360’s native Arrange feature. Again, just another reason we believe it’s well worth the purchase for hobbyists and professional woodworkers using Fusio n 360.
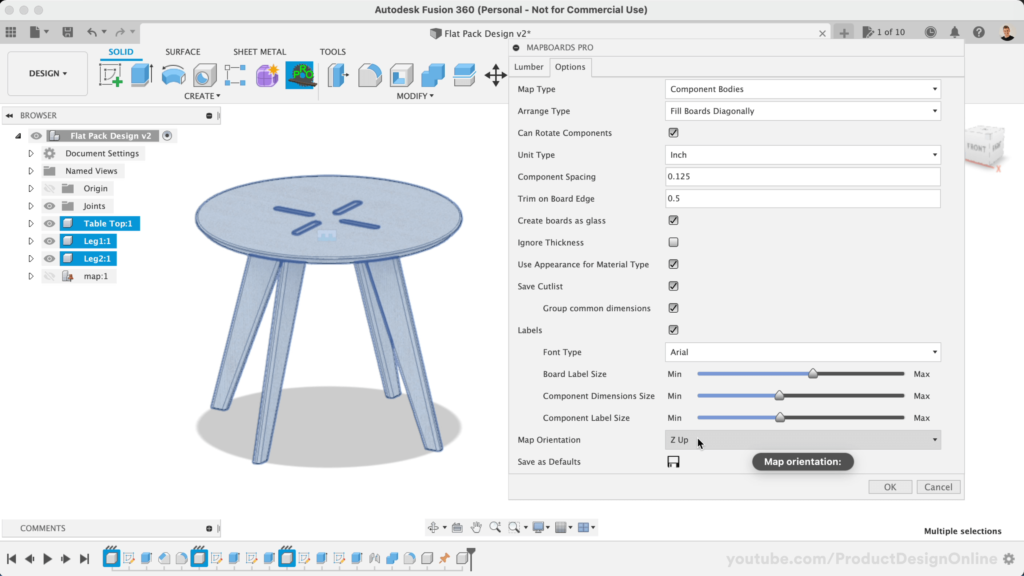
- Map Type: define the output of the arranged model. The Bodies option will create copies of the 3D bodies and lay them flat on the same plane. DXF and SVG are great options if you’re using this add-in for laser cutting.
- Arrange Type: Define the orientation of the parts. Matching Widths Horizontally is useful for ripping boards on a table saw. This option arranges the boards lengthwise. Matching Lengths Vertically will place them in the opposite direction, which is better for crosscut. Fill Boards Diagonally is often best for CNC or Laser Cutter layouts, as it will nest each item diagonally, placing them as dense as possible.
- Can Rotate Components: allows the components to rotate for better placement. Unchecked, all the parts will be placed in the same orientation.
- Unit Type: same as Fusion 360’s document units. Note that MapBoards will automatically restart if you change this.
- Component Spacing: spacing between each part to allow for a saw blade or router thickness.
- Trim Board Spacing Edge: spacing added around the outer edge of the board. This is useful for CNC setups, where you’ll need to account for clamps or other material hold-downs.
- Create Boards as Glass: applies the appearance of clear glass to all the mapped bodies, making it easier to see the parts laid out with the board.
- Ignore Thickness: takes the largest thickness and uses that for each material type, instead of each individual material. Note that this is only relevant if you have multiple physical properties applied.
- Use Appearance for Material Type: gets the material from the Fusion 360 appearance instead of physical property.
- Save Cutlist: creates a custlist after the map is generated.
- Labels: places the component name and dimensions and places them in a sketch per each part. Useful for generating a cutting sheet or instructions. Note that you can define the Font and Font size.
- Map Orientation: set the modeling orientation to Z up or Y up (if your default modeling orientation is not the desired result).
- Save as Defaults: save all settings above as the defaults for easier re-use.
Learn How to Use the MapBoards Pro Fusion 360 Add-In
MapBoards Pro is intuitive and easy to use out of the box. However, you’ll find there are many settings to configure. Below you’ll find our tutorial that will walk you through each setting, step-by-step.
Save Time and Master Fusion 360 for Your Woodworking Projects
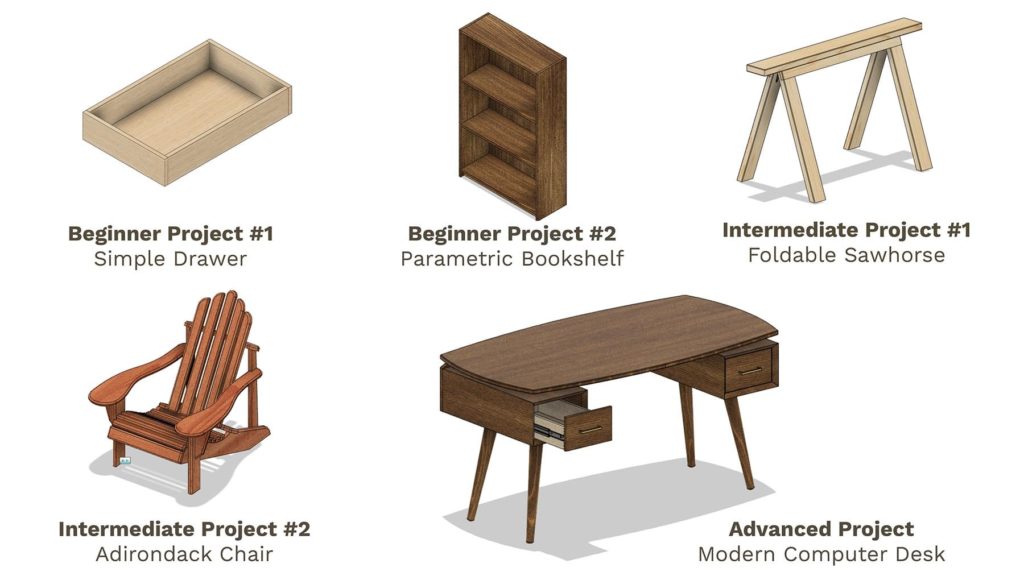
Quickly learn the correct techniques with our structured and easy-to-follow Fusion 360 courses for woodworking. Learn Fusion 360’s core workflows, best practices, and professional tricks with our Masterclass: Fusion 360 for Professional and Hobbyist Woodworkers.
Leave a Reply