Scalable Vector Graphics, or SVG files, are two-dimensional graphics that are widely used by software programs. Software developers like them because of their interactivity and animation capabilities.
Best of all, SVG files are one of only a few file types that won’t lose any quality while being scaled to any size. Unlike JPG and PNG files, SVG files can be created with XML text.
In other words, the graphic you see is created with a group of numbers and letters. This means SVG files can be resized infinitely without losing their quality.
When to Use SVG Files with Fusion 360
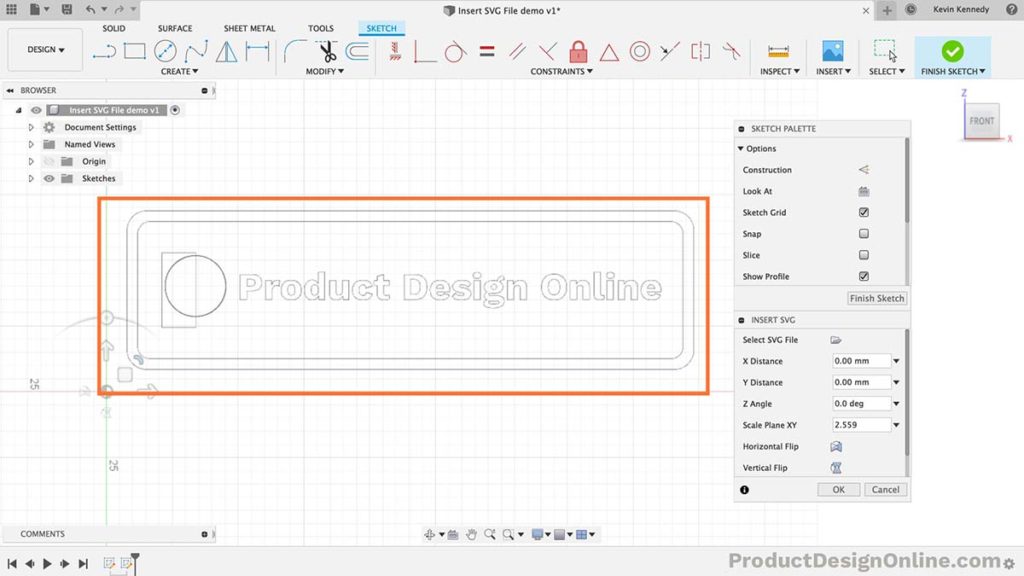
Fusion 360 accepts SVG files, but they should still be used on a limited basis. When possible, use Fusion 360’s native sketch geometry to create the desired shape.
Fusion 360’s 2D-sketch will result in a faster and more predictable model. Importing SVG files will automatically re-recreate the SVG lines with Fusion 360 geometry. This often results in hundreds of spline paths.
The problem with this is that SVG sketches are nearly impossible to fully-constrain and dimension.
SVG files should only be used to recreate logos, text, or other shapes that cannot be created directly in Fusion 360.
How to Insert SVG Files into Fusion 360
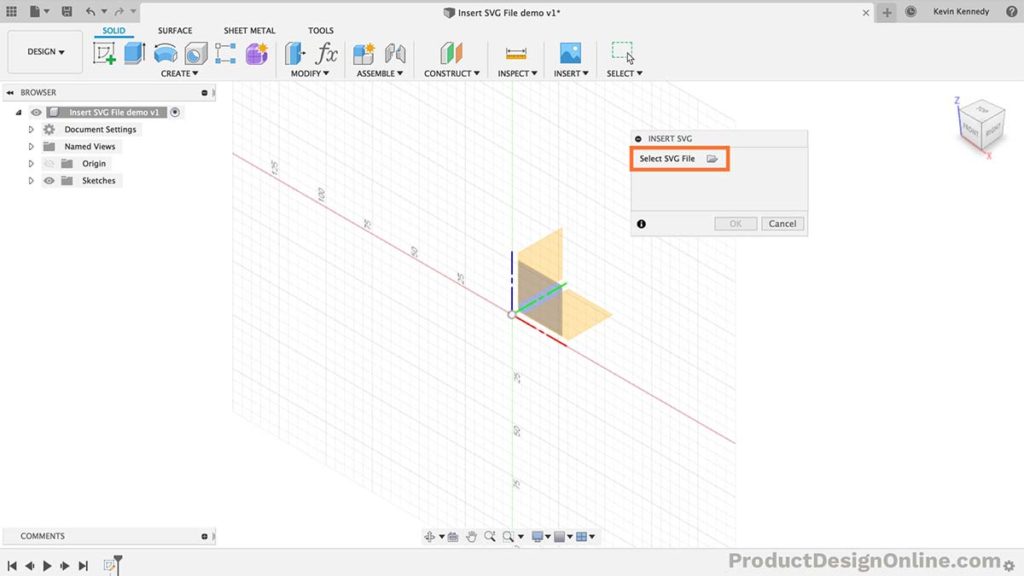
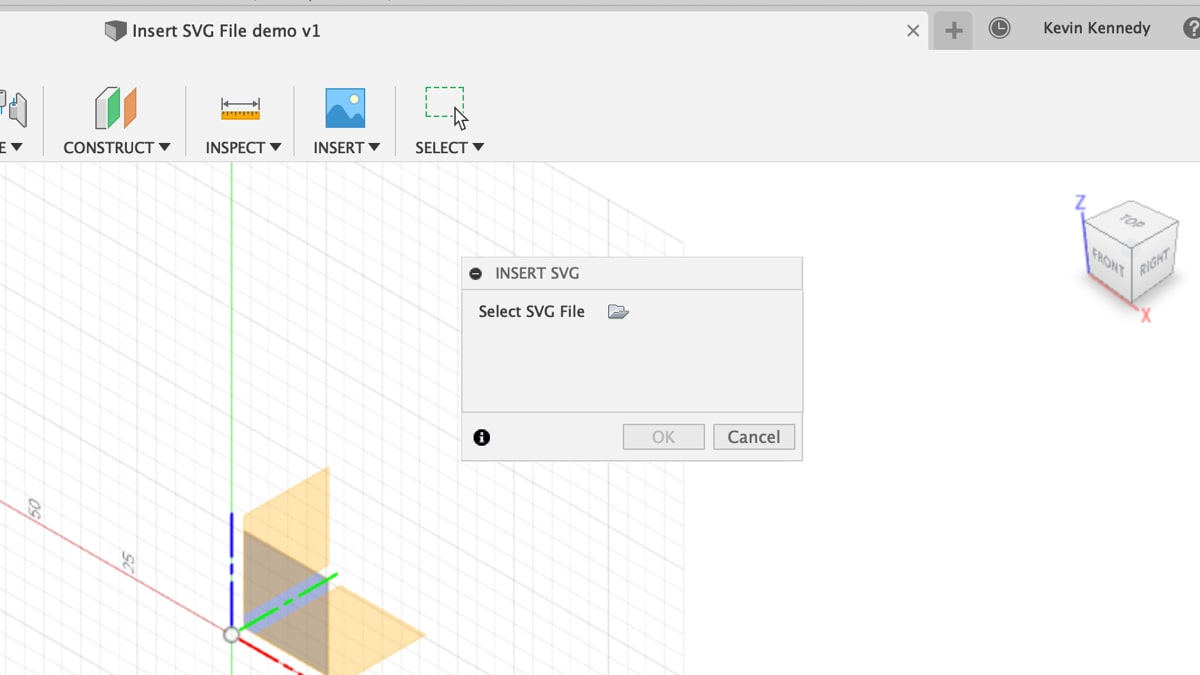
- Select the Insert dropdown list > select Insert SVG
- Select the folder icon in the Insert SVG dialog. Doing so will open up your computer’s local folders.
- Select the desired SVG file and click open.
- Select an origin plane or planar face to create a new sketch, which will include the selected SVG file.
- Use the manipulators (rotate, planar move, scale, flip) to alter the SVG file’s shape and position. You can also type out specific values in the dialog box.
- Click OK to confirm the placement of SVG. Note: The SVG will have green sketch lines because it will automatically be “locked” with the fix/unfix constraint.
How to Create an SVG File
There are several ways to create an SVG file to be used in Fusion 360. In this post, I’ll be covering two main ways to create an SVG file.
Using an SVG Graphics Program
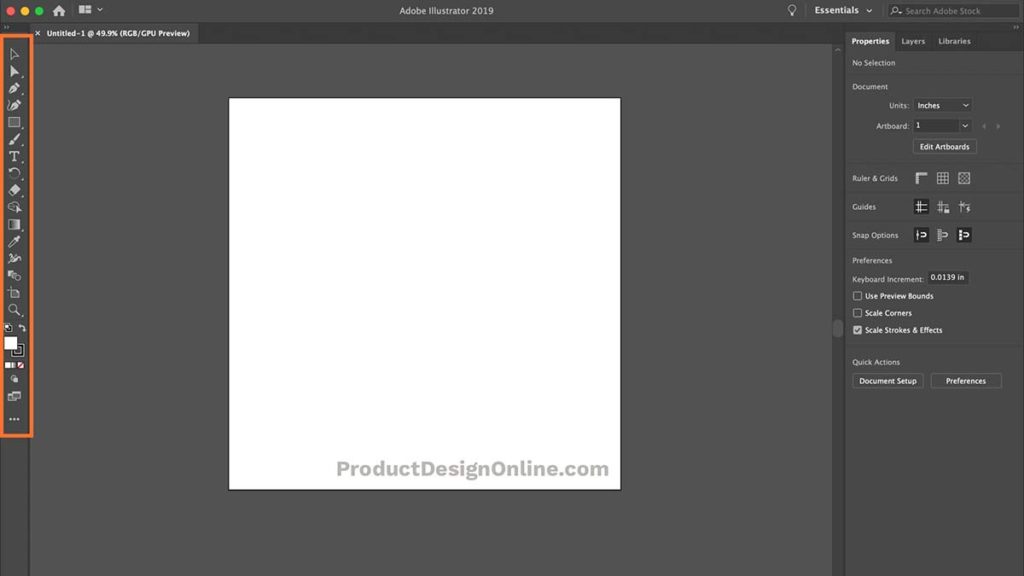
First, you can use any graphics program that allows you to export to an SVG file. This method does require some knowledge in another piece of software. Though, many graphics programs can be picked up within the hour. Almost all utilize similar tools, including the use of text and simple geometric shapes.
You will want to look into the Pen tool if you want to create complex SVG designs. Some programs may not call it the pen tool, but almost all graphics programs have a way to create vector lines.
Below is a list of free and paid graphics programs that can export to the SVG file extension.
Free Graphics Programs:
Paid Graphics Programs:
Using an Online SVG Converter
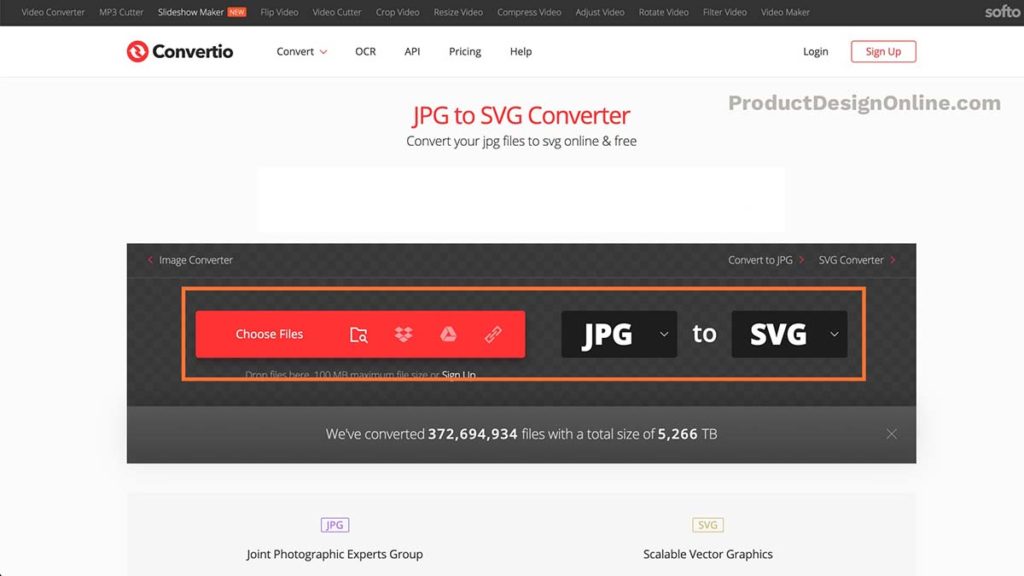
The second method of creating an SVG file would be to use an online converter. There are several (hundred) online converters, including both free and paid websites.
Most file conversion sites will let you upload a simple JPG or PNG file to export as an SVG file.
The issue with this method often lies in complex objects, which have thin parts. Small details often get lost in the conversion process. If your logo or design needs small details then you’ll be better off creating it in a graphics program (listed above).
Here are a few of the top free converter sites:
and here are a few of the top paid converter sites:
Working with Text (Words)
By default, most graphic programs don’t render text as vector lines.
Therefore, Fusion 360 may not recognize the text when you import the SVG.
You will need to “Create Outlines” from the text before you export your SVG file. This process can vary per each graphics program listed above. However, a quick Google search will often result in a simple 2 to 3 step instruction.
For example, in Adobe Illustrator you simply need to select the text > right-click on the text > select “create outlines”.
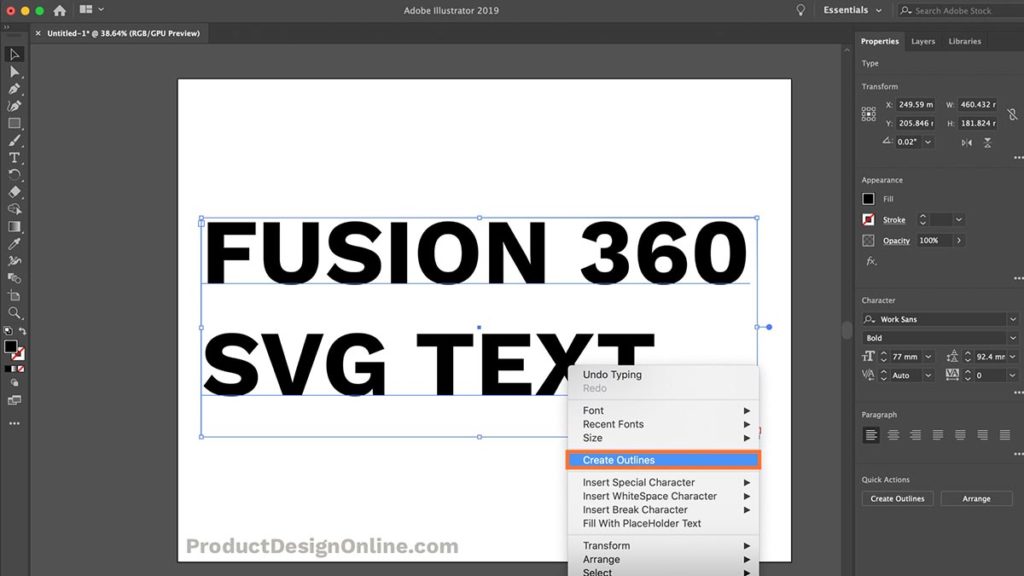
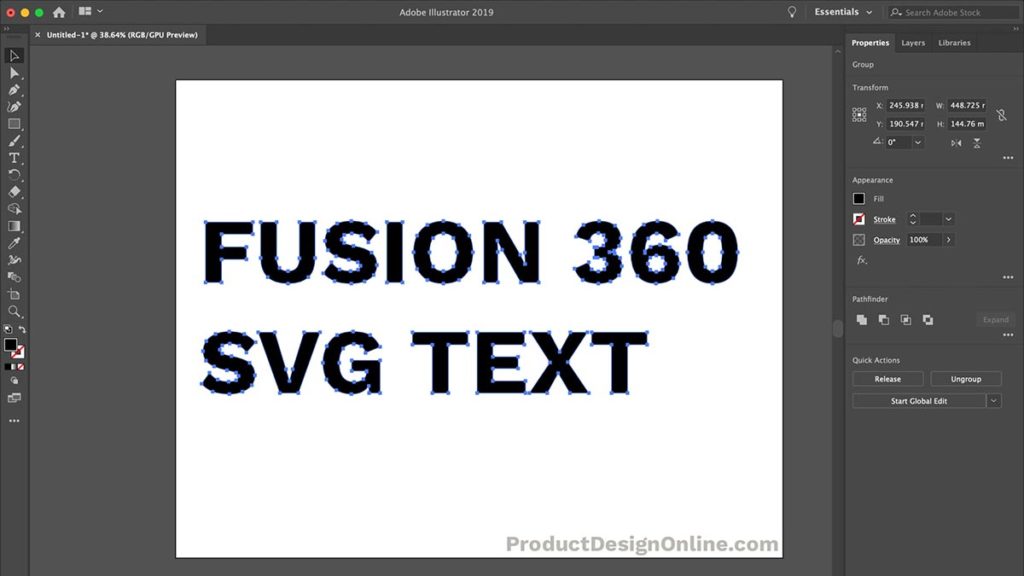
You will see vector points at the corner of each letter once the text is outlined properly.
SVG Lines Fixed (Green) in Fusion 360
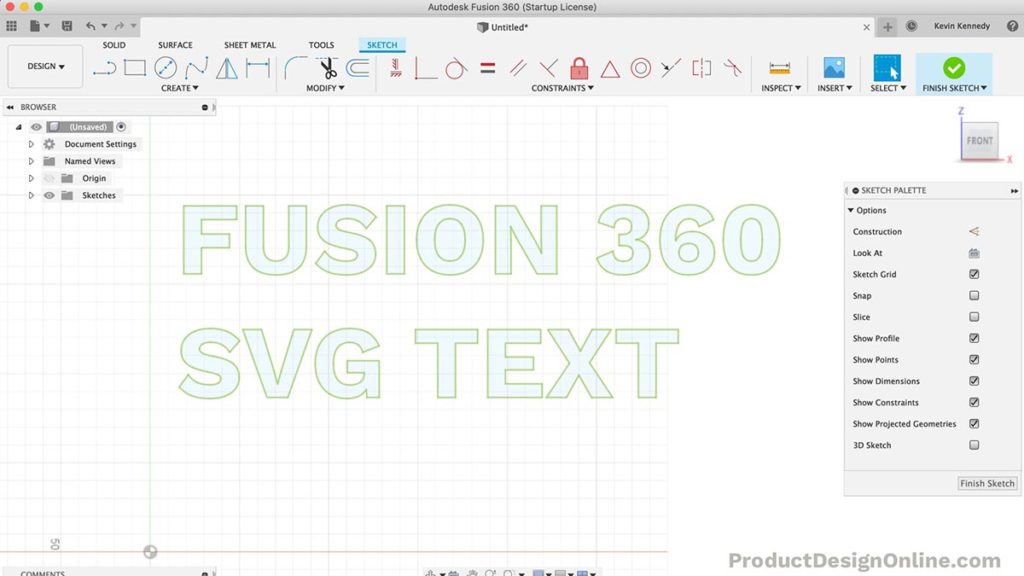
By default, Fusion 360 fixes all SVG geometry after you click “OK” in the Insert SVG dialog. This is because SVG geometry is usually re-created by Fusion 360 using hundreds of splines and line points. Moving geometry on accident could cause unfixable issues (without undoing or starting over).
You will need to “unfix” your SVG If you need to re-adjust its placement. First, click and drag over the entire SVG to select everything. Then, select the “Fix/Unfix” constraint in the toolbar.
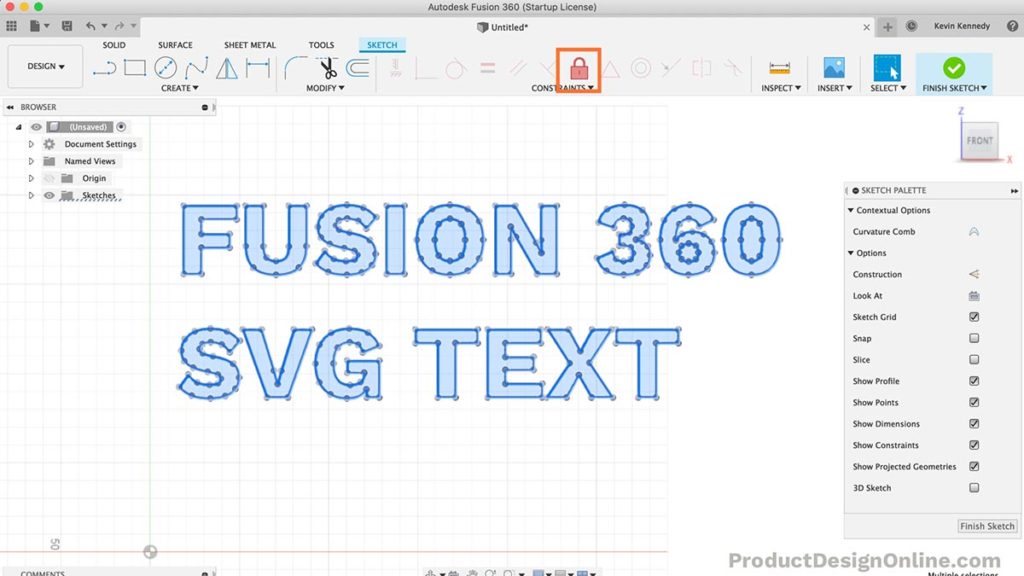
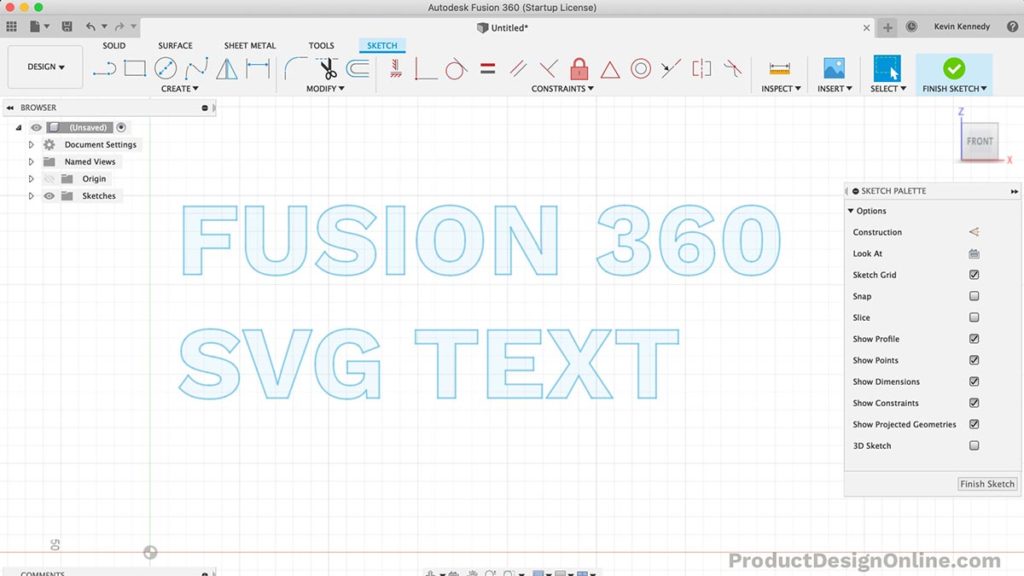
After “unfixing” the SVG the lines will become normal lightblue sketch geometry (image below).
This means you can dimension or apply any of the sketch constraints to the SVG. You can also move or delete sketch geometry.
Export an SVG File in Fusion 360
In some scenarios, you may want to export a Fusion 360 file to an SVG file. This is often the case with those who are working on laser cutter projects.
Some laster cutters will accept DXF files, while others only accept SVG files. Unfronutely, Fusion 360 does not have a native way to export to SVG, but there is a small workaround.
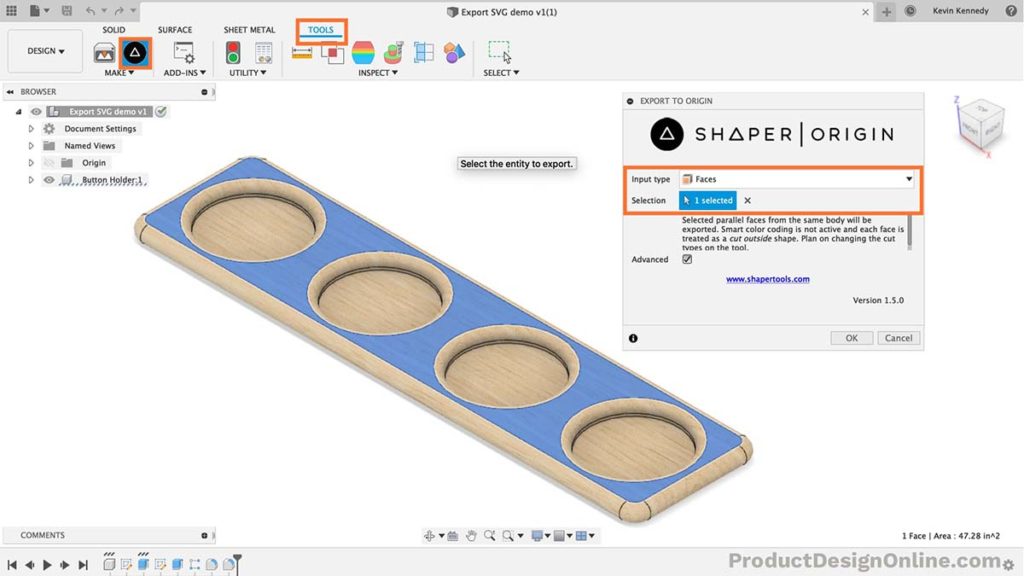
To export an SVF file in Fusion 360 you will have to use the Shaper Origin add-in.
- Install the Shaper Origin add-in
- Select Tools tab > Shaper Origin logo in the toolbar
- Select desired input type (single solid body, solid body layout, faces, entire sketch, sketch profiles)
- Select OK in the Export to Origin dialog
- Name the SVG file and click save

Hey this is a great post but one addendum for a very common use case— text. In my experience you can export text from gravit or Inkscape but it will not import into F360 unless you convert the text objects to paths. I might be doing something wrong but I encountered it with pixlr, then tried gravit.io and finally Inkscape and saw the same behavior on all three. I also noticed that after import you can’t treat the paths like normal sketch geometry unless you highlight all paths, copy, and paste. In my experience you couldn’t even use the move tool unless you copypastaed them so they became normal blue line sketch geometry instead of weird green school imported geometry. Just found your stuff on YouTube yesterday and I’m loving it. Keep up the excellent work.
Hi Matt,
Thanks for taking the time to provide this feedback! You brought up a great point. Text is definitely a popular use case of SVG files. I’ve gone ahead and added the details to this post about the need to “outline” (vectorize) the text in the graphics program before importing it to Fusion 360.
In regards to the green geometry – I’ve also added a section covering that. In short, that is because Fusion 360 automatically “Fixes” (fix/unfix constraint) the imported SVG files. This is because Fusion 360 recreates all imported SVG files using its native sketch geometry. Consequently, most designs end up with hundreds or thousands of small splines, lines, and points. The default of fixing the SVG geometry is supposed to prevent any accidental alterations to the geometry. Please see my additional notes on how to unfix the geometry, which will save you time, as there is no need to copy and paste it.
Cheers,
Kevin 🙂
Dang dude. I saw your custom font post and then headed back here. Great stuff! Keep it up.
Hi Matt,
Glad to hear you find the posts to be useful. I’m trying to add a lot more content this year – focusing on answering common questions and Fusion 360 quirks.
Cheers,
Kevin
I have an SVG file that I have edited by adding a few words of text. However, the text does not import correctly into Fusion 360 for some reason. Can anyone advise why?
Hi Danny,
What program was the SVG created in? In most graphics programs you will have to convert text to “outlines” before they’ll show up in the SVG file. That is very likely why it is not showing in Fusion 360.
Cheers,
Kevin